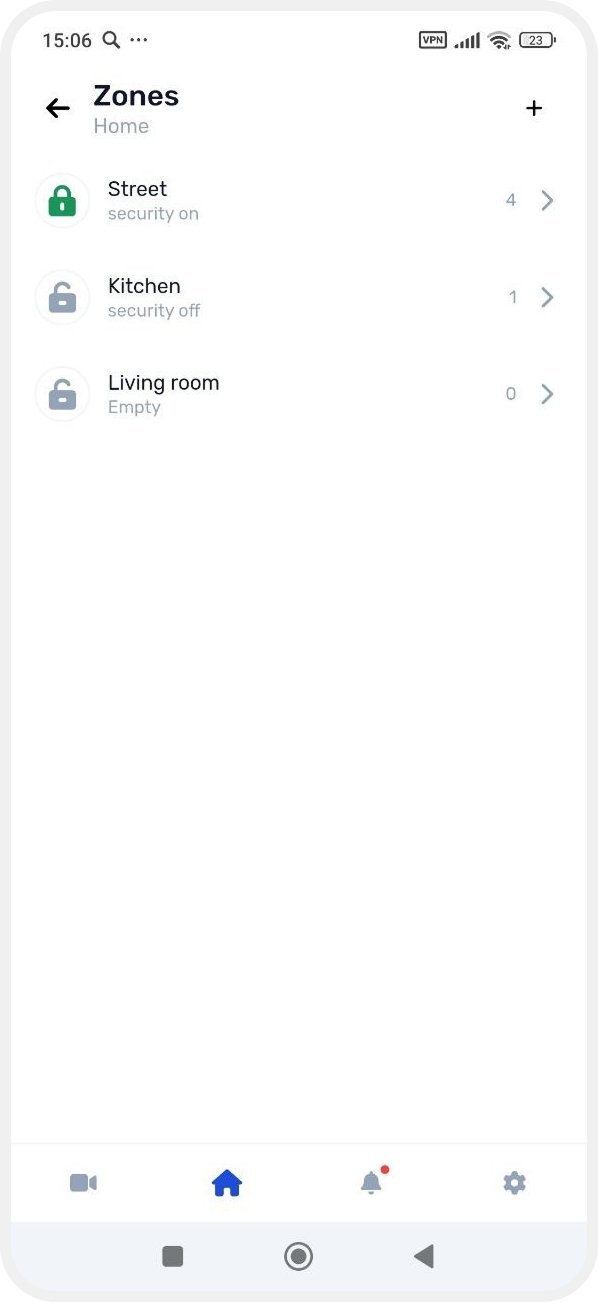
How to arm selected zones
If the site is divided into zones, you can arm each zone separately.
For example, you can arm only the garage or the first floor without enabling security for the entire site.
When only some zones are armed, the system switches to “Partial Arm” mode.
To arm a zone, sensors must be added to it.
If a zone does not contain any sensors, it cannot be armed.
|
You can arm an individual zone in two ways:
— using a widget on the main screen
— through the zones list
Arm a zone using a widget
To control individual zones, you can create dedicated widgets on the main screen of the app.
For more details about creating these widgets, see the “Control widget setup” article.
To arm a zone:
1. On the main screen, tap the widget for the required zone

2. After tapping, the zone will switch to armed mode

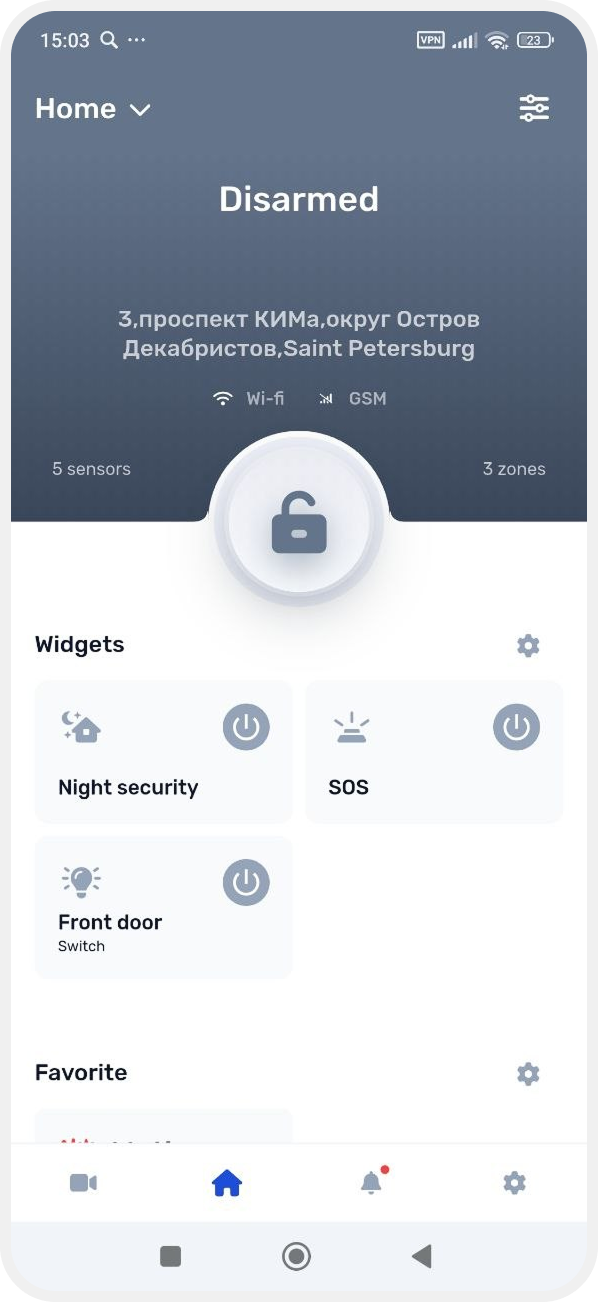
The site status will change to Partial arm, and the main screen will display the zones that are currently armed.
Arm a zone through the Zones tab
1. On the main screen, open the Zones tab
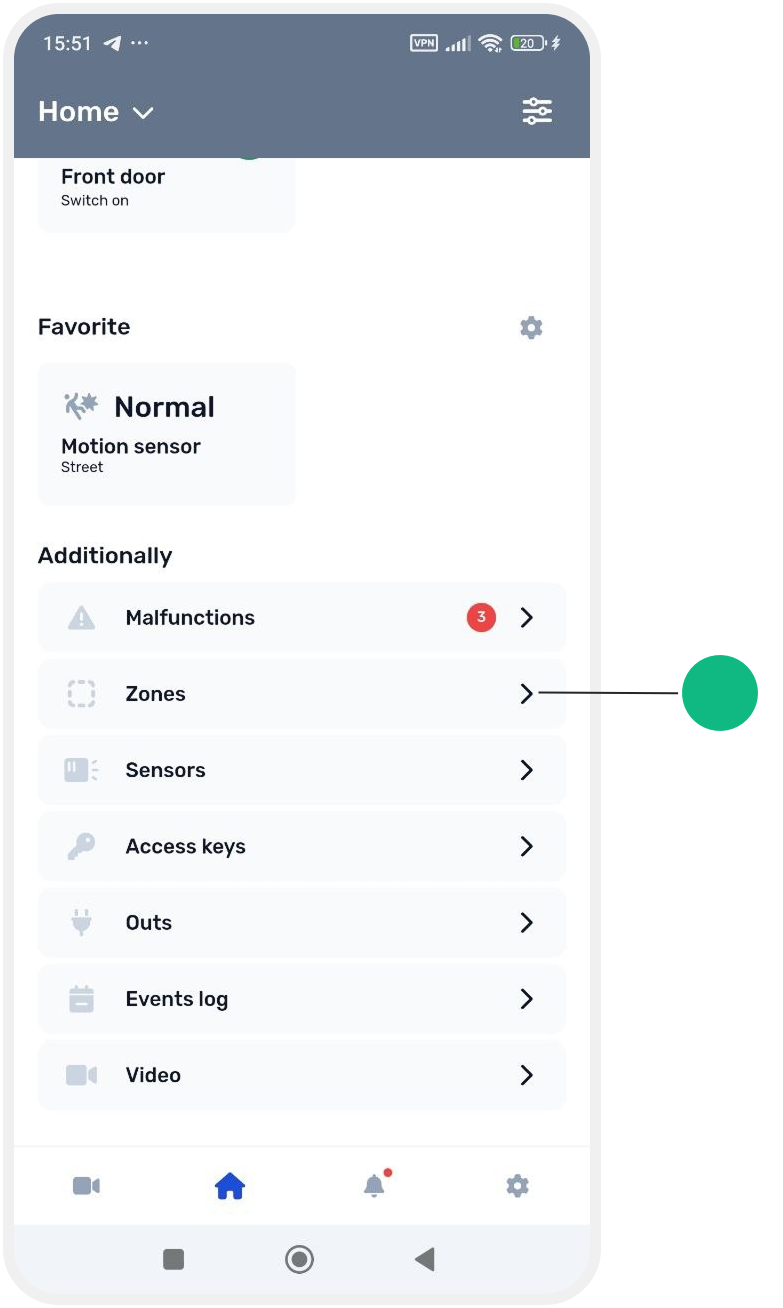
2. Select the required zone from the list
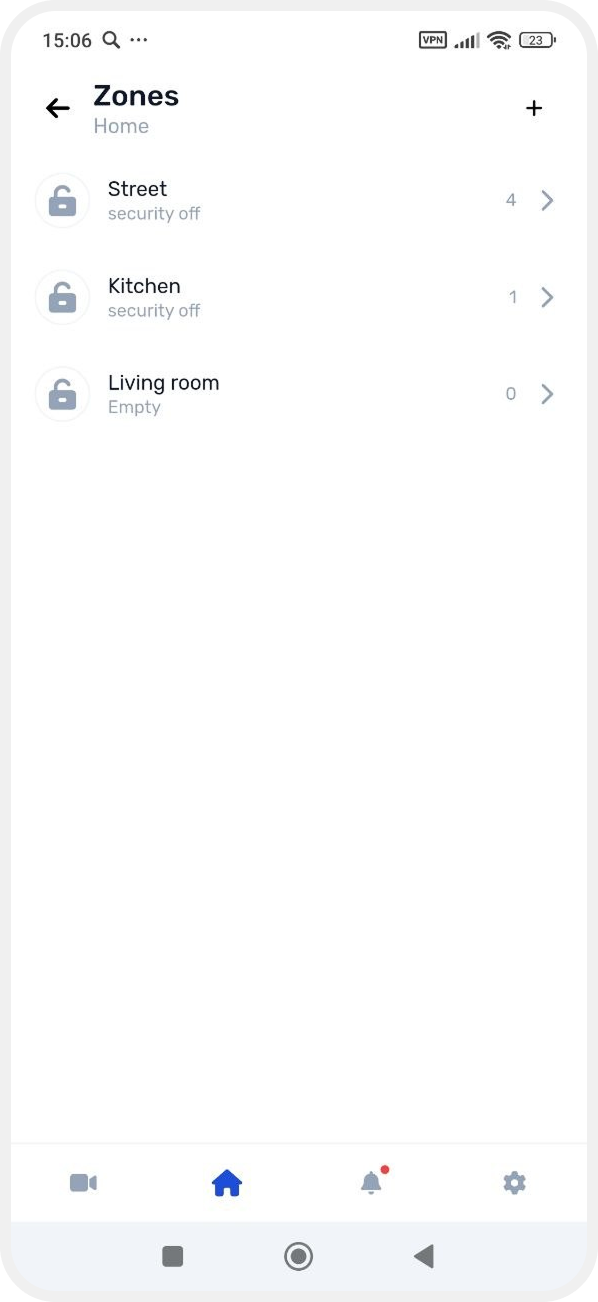
3. Open it and tap Put it on guard

You can also:
1. Tap and hold the required zone in the list
2. In the menu that appears, select Put it on guard
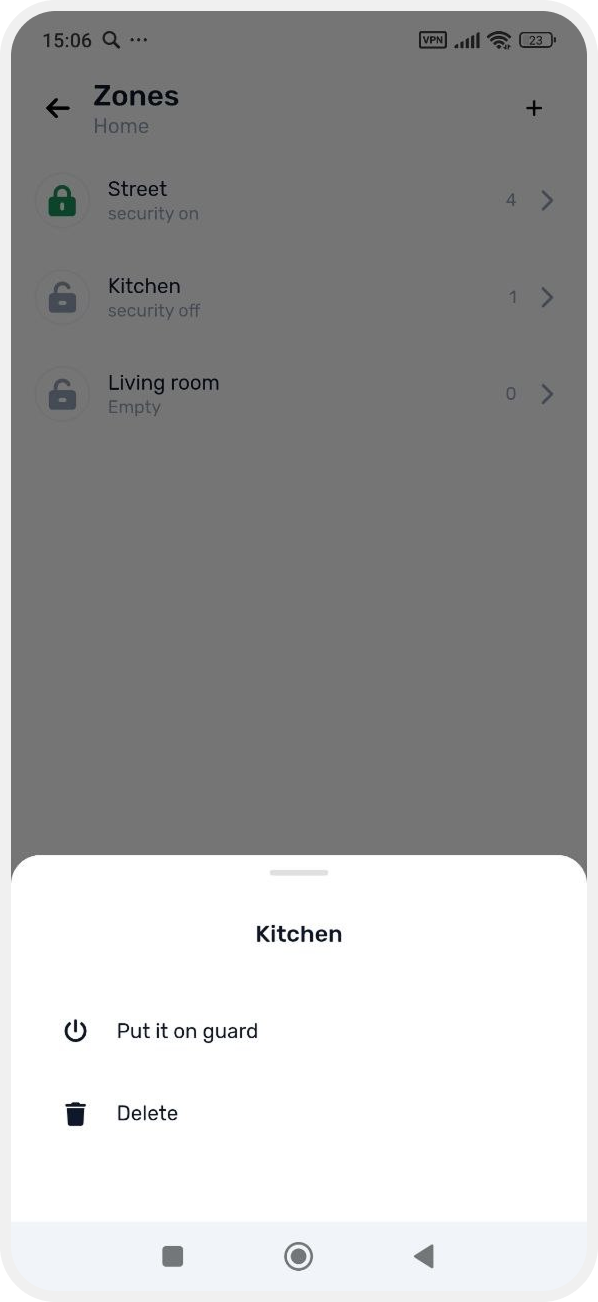
After arming, the zone will be marked with a lock icon in the zone list.