
How to connect a wired camera
A wired camera is a video surveillance device that connects to the system via an Ethernet cable and operates through a router.
This type of camera provides a stable connection and does not depend on Wi-Fi quality.
Camera setup
1. Open the Cameras section
Here you can see all connected cameras and favorite devices.
2. Tap the Add  icon in the top-right corner or select Add camera
icon in the top-right corner or select Add camera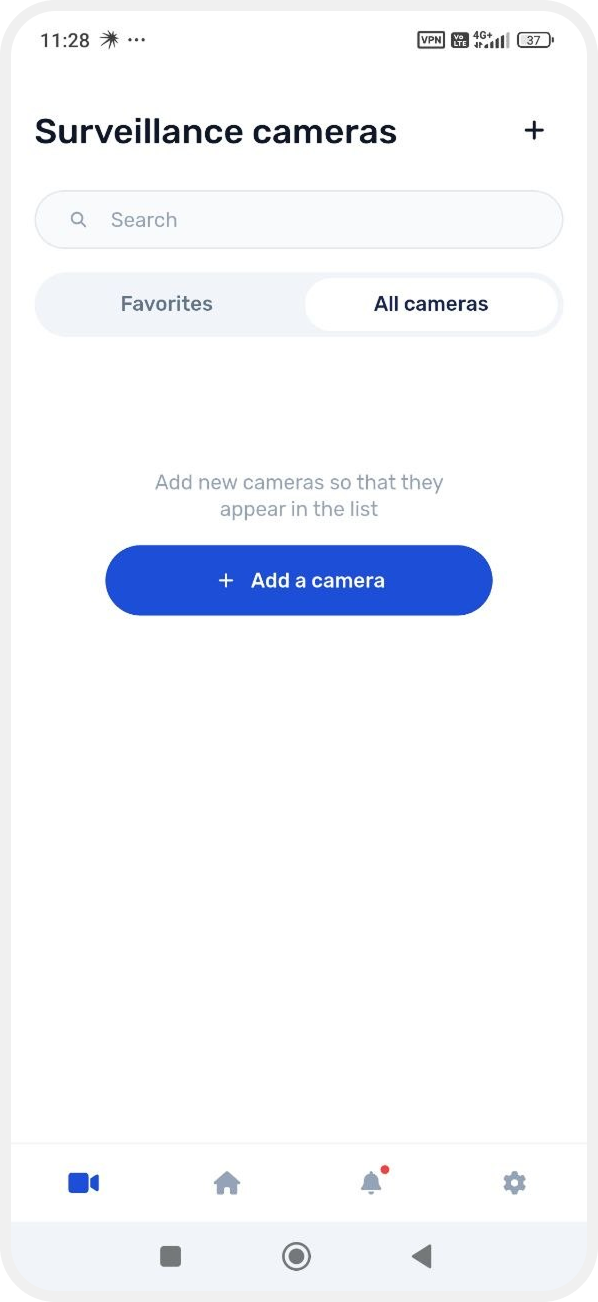
3. Select the site the camera will be assigned to
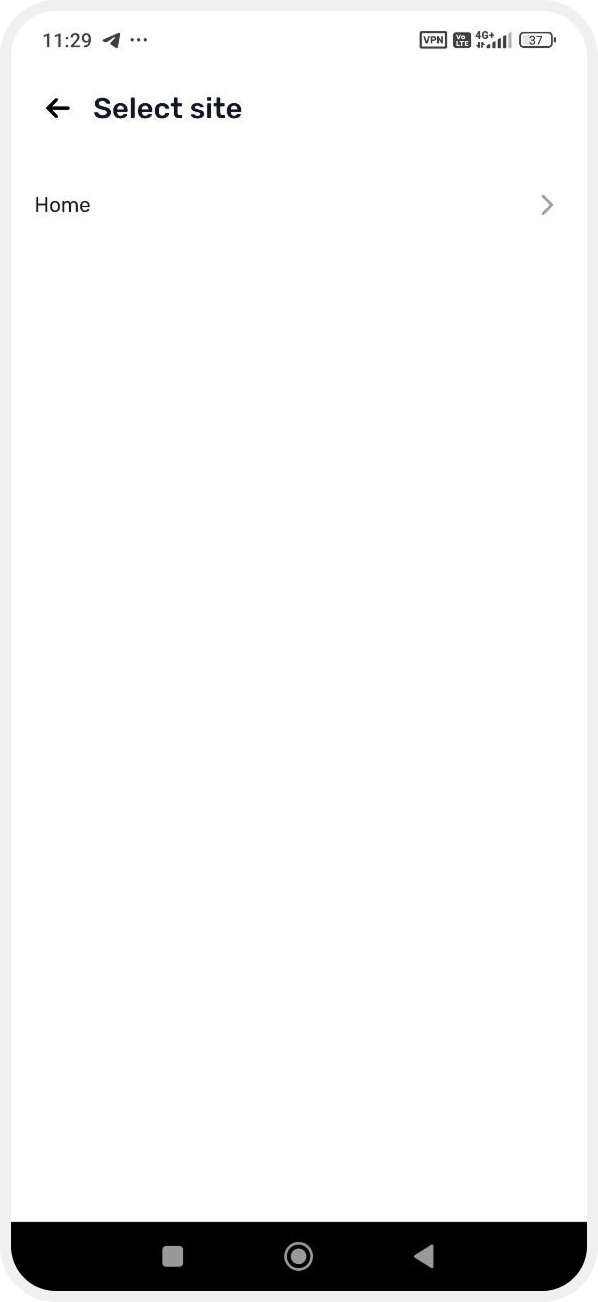
4. Choose the connection type: via Ethernet cable (wired connection)

Preparing the camera
5. Connect the camera to a power source (via the power adapter)

6. Wait until the indicator light starts blinking
7. Tap Continue
Adding the camera
8. Enter the camera’s serial number

You can simplify this step by scanning the QR code on the camera — the serial number will be filled in automatically.
To do this:
— tap the QR code icon
— point your phone camera at the device QR code

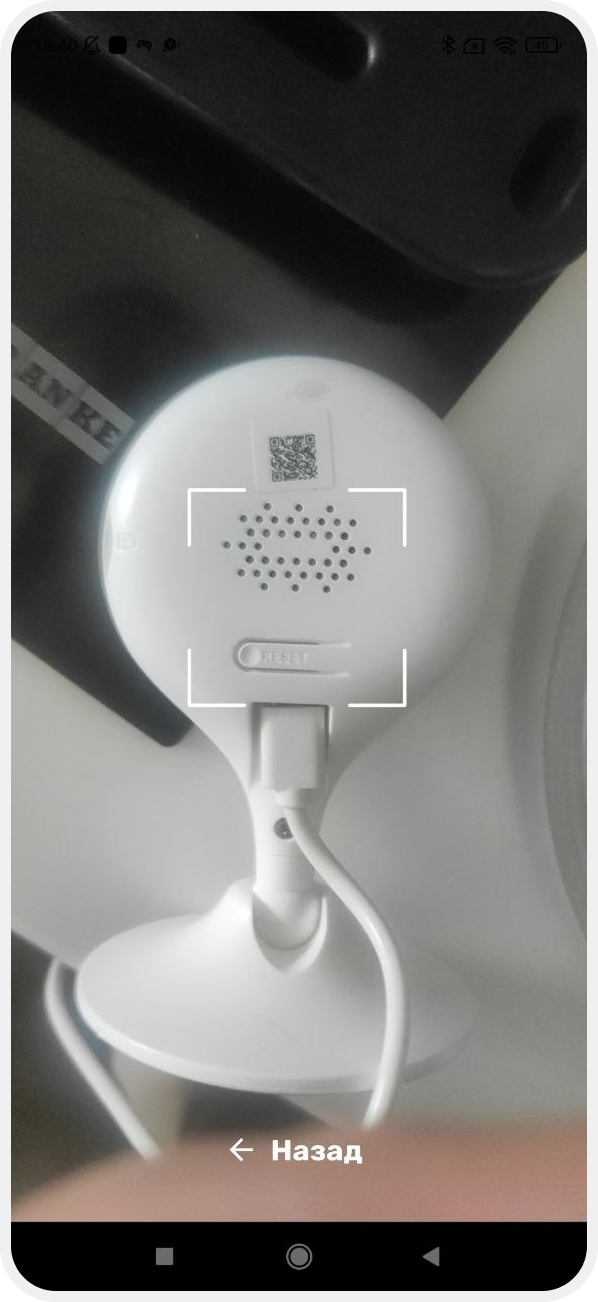
9. Enter the camera name and description (optional), then tap Connect

Connecting the camera
10. Disconnect the camera from the power supply and tap Next in the app

11. Connect the camera to the internet using an Ethernet cable:
— plug one end into the camera
— plug the other end into your router’s LAN port

12. Reconnect the camera to the power supply and tap Next

Once setup is complete, the camera will appear in the device list and you can immediately start viewing the live stream.